AMR SQL Synchronization
AMR SQL Synchronization lets you keep an external Microsoft SQL Server (MSSQL) table up to date with Credential data from Breeze. Instead of exporting files, data is written directly to your SQL database whenever relevant changes happen, so connected systems always have the latest information.
To learn more about AMR and other ways to move Credential data to third‑party systems, see the Access Management Router (AMR).
Prerequisites
- Availability: This feature is available for Enterprise plans.
Contact your Breeze representative or dealer for options. :::
Required roles:
System AdministratorData Exporter
You need these roles to configure and manage AMR SQL Synchronization.
Before you start:
- Access to the Breeze Admin Portal
- Access to a Microsoft SQL Server instance and credentials
- Know where the data should be stored: database, optional schema, and table name
- Your Domain/Tenant must have the AMR SQL feature enabled
MSSQL requirements and permissions
Have these connection details ready:
- Host (DNS or IP) and Port (default
1433) - Database name
- Username and Password (password is write‑only in the UI)
- TLS encryption (TLS 1.2+ required) using a publicly trusted CA certificate (private CAs and self‑signed certificates are not supported)
Permissions depend on your schema management choice (see below):
none: INSERT/UPDATE on the target tablecreate: permission to create the target table if missingcreate_update: permissions to create the table and add missing columns
Only SQL logins are supported. Windows/AD or certificate‑based authentication methods are not supported.
Available data fields and mapping
Use the built‑in Mapping editor to choose Breeze fields and assign their destination SQL columns. You do not enter mapping strings manually.
How it works:
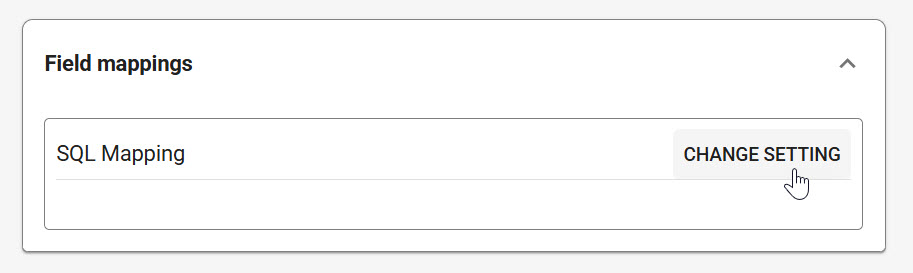
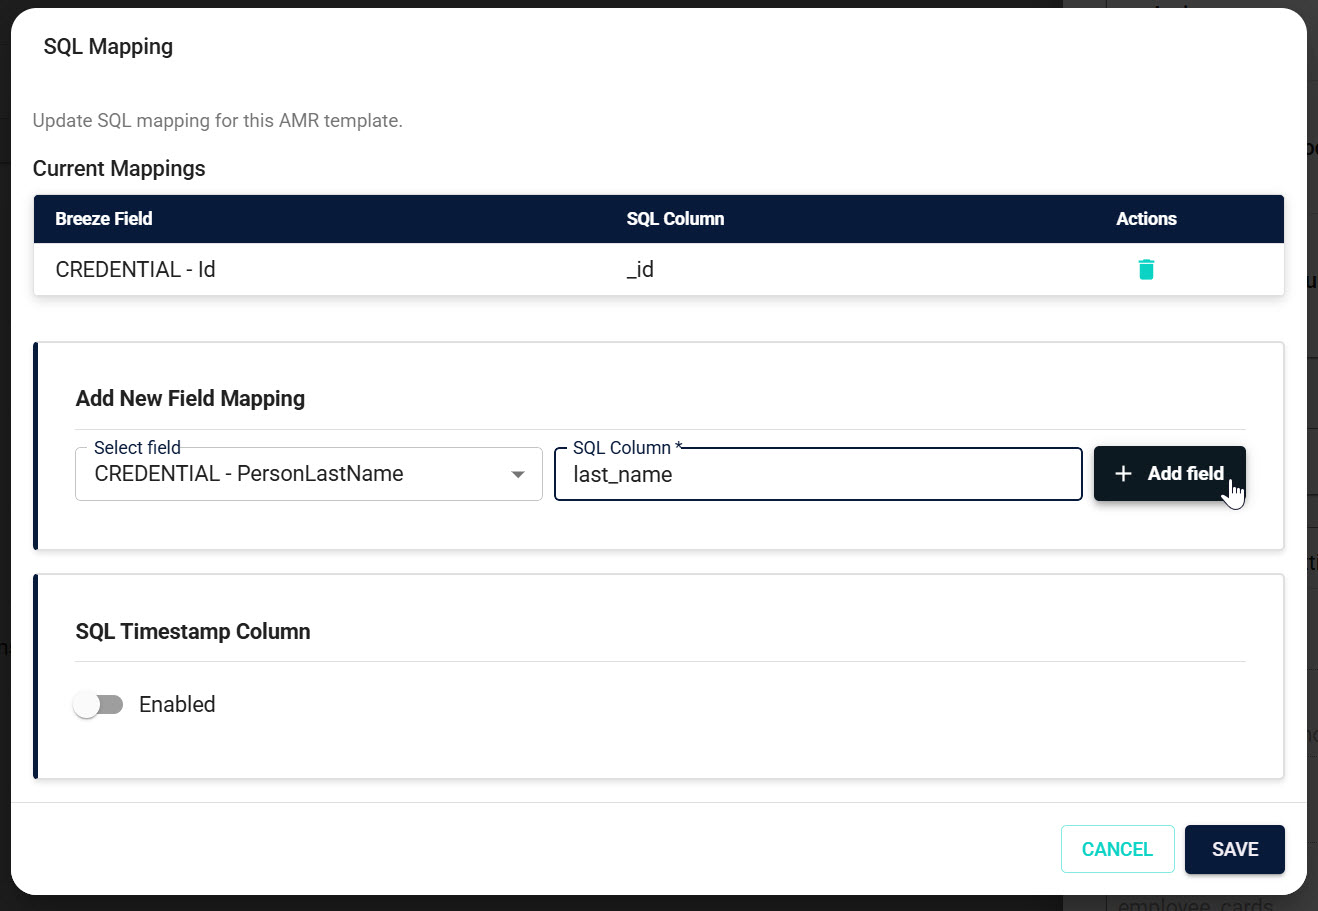
- Open the Mapping editor from the template.
- Pick a Breeze field from the dropdown list.
- Type the SQL column name you want to write to, then click Add field.
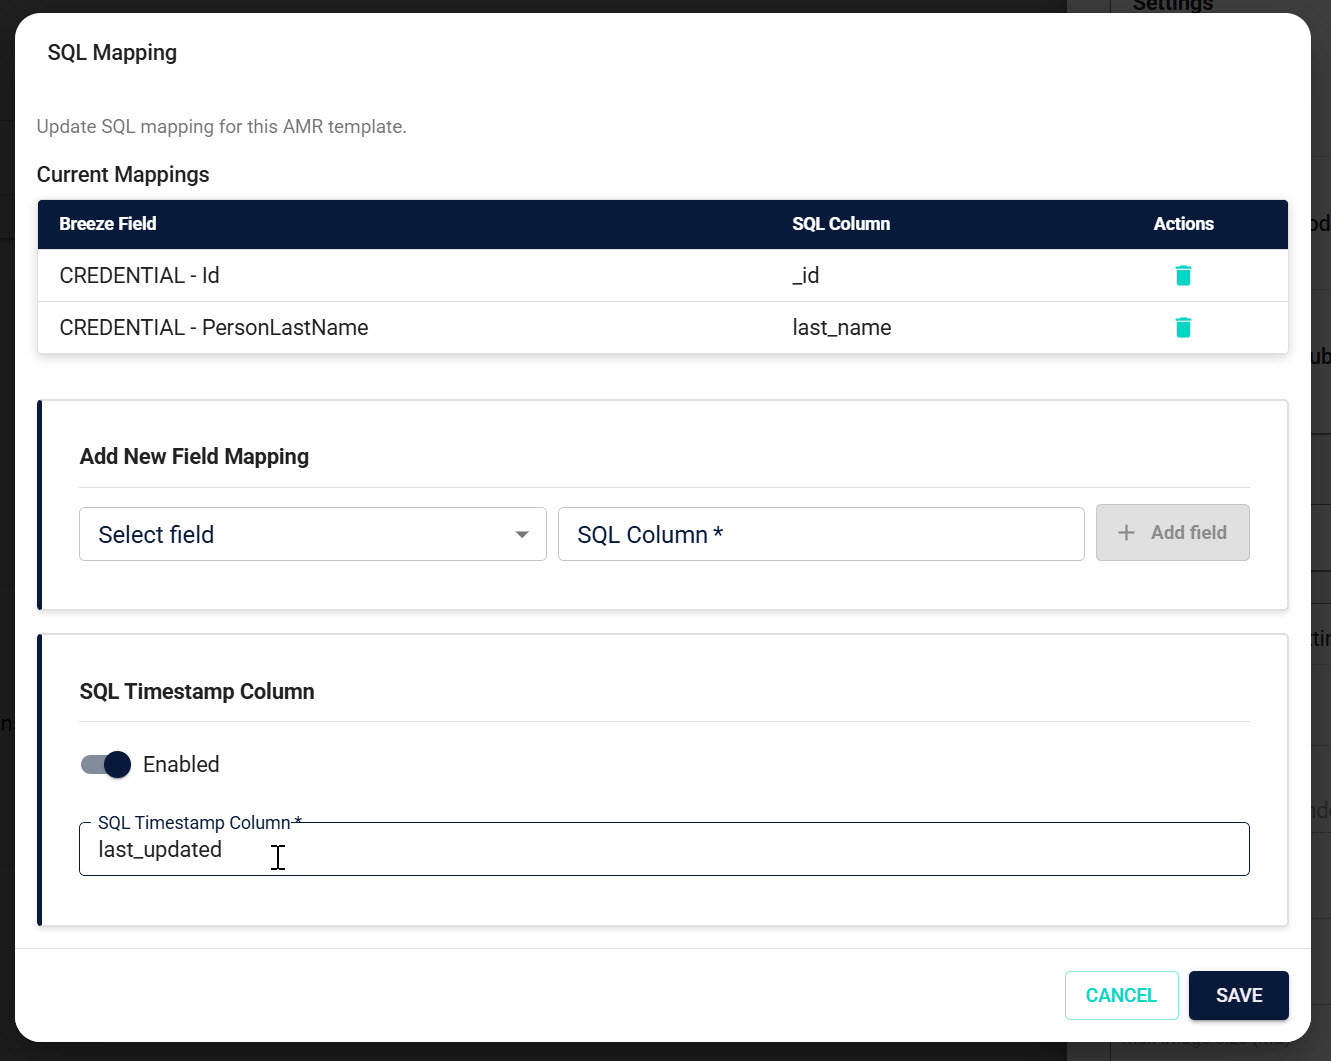
- Repeat for all needed fields. Optionally enable a dedicated SQL timestamp column to store the last sync time.
Guidelines:
- Include only the fields required by your downstream system.
- SQL column names must be valid identifiers (start with a letter/underscore; contain only letters, numbers, underscores; max 128 chars).
- Avoid reserved SQL keywords as column names.
See also: Mapping settings and Available Data Fields.
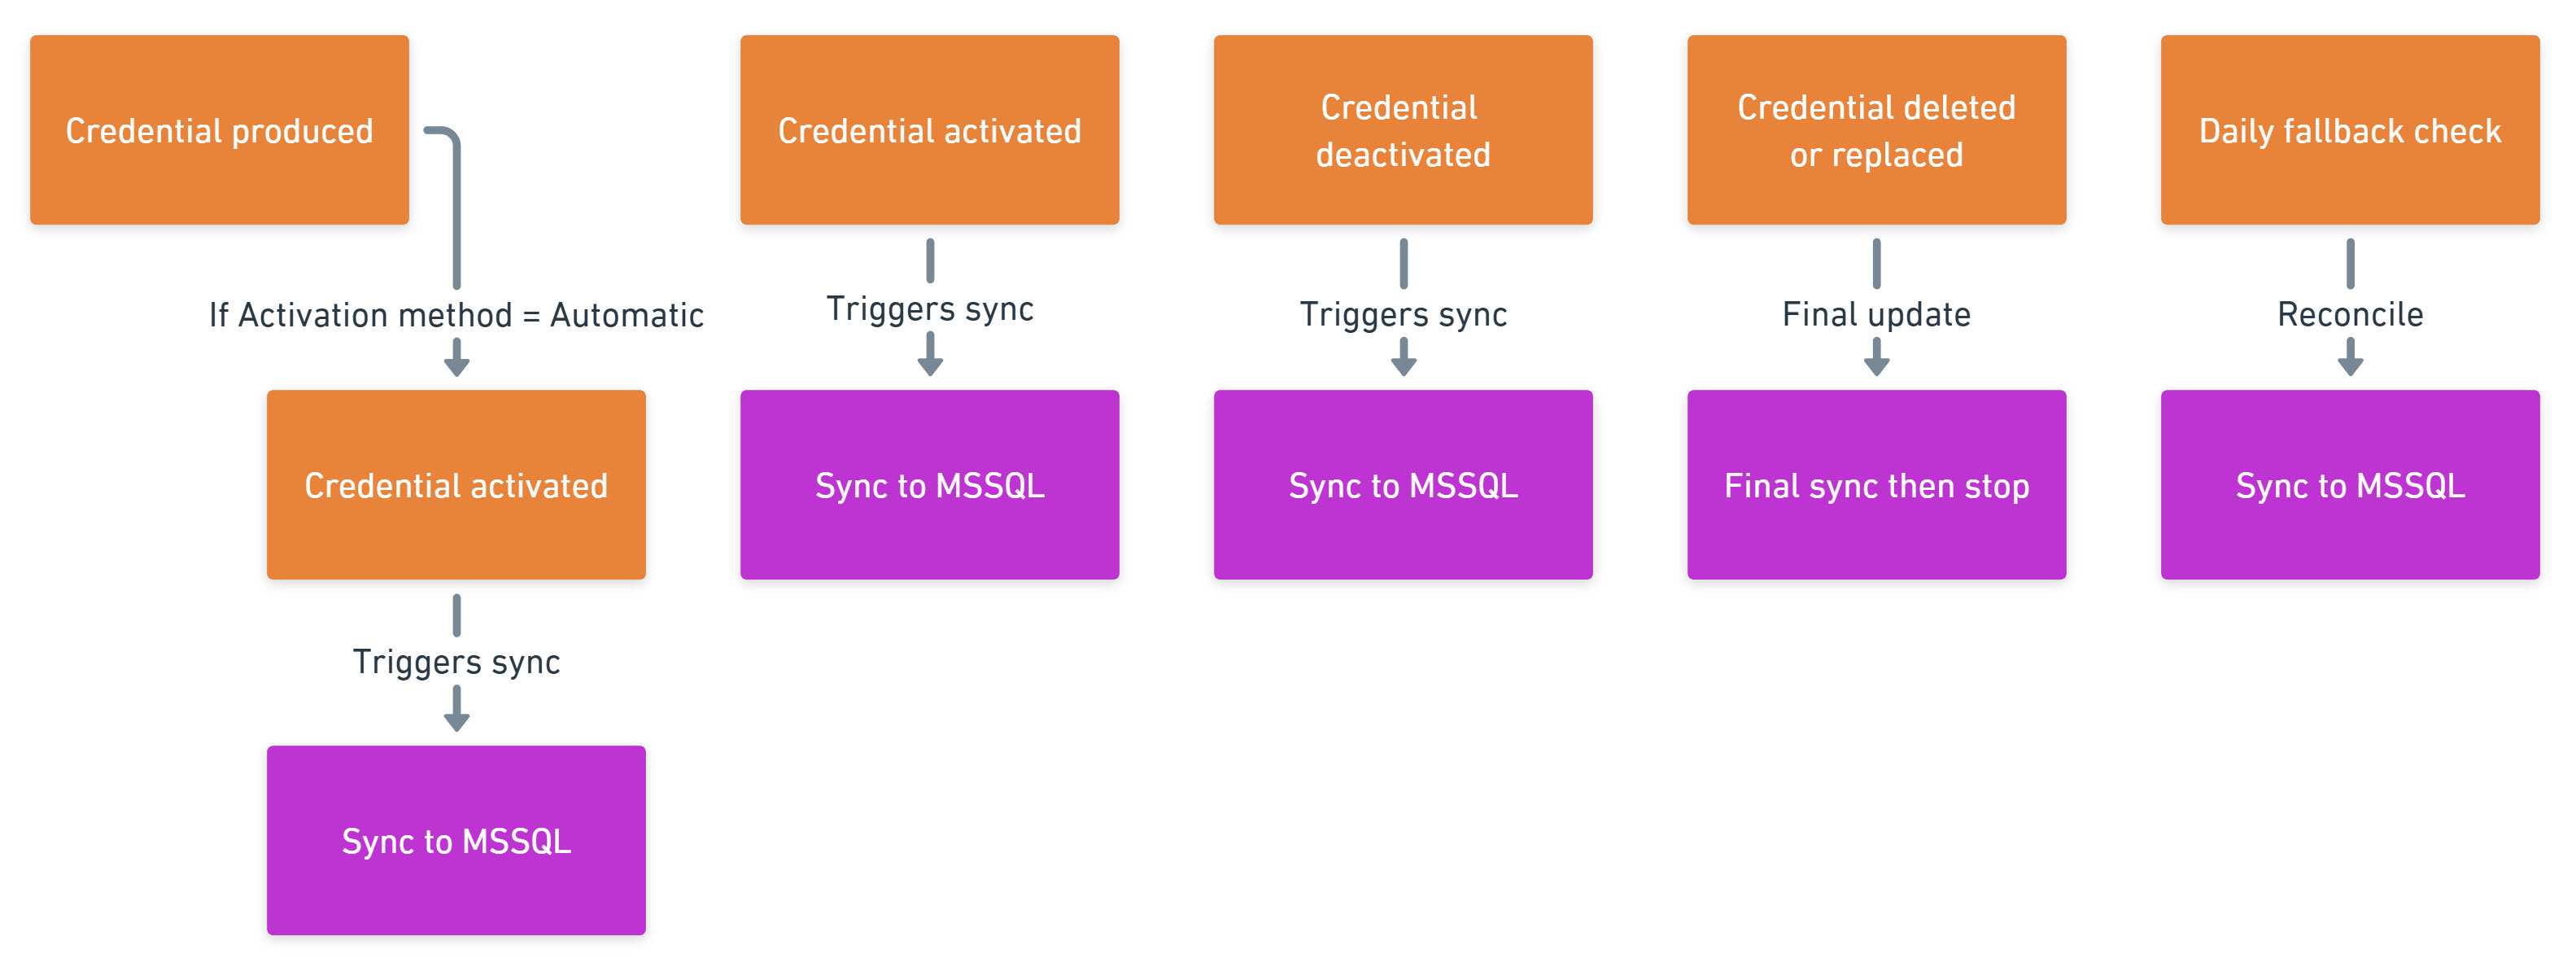
Triggers for SQL synchronization
AMR automatically syncs when Credential status changes:
- Credential produced (if activation is set to Automatic)
- Credential activated
- Credential deactivated
- Credential deleted or replaced (final update and stop)
In addition, a periodic fallback update runs daily to help ensure consistency.
Note: If the template’s Activation method is set to Automatic, the Credential will be activated immediately after production. The activation event also triggers a sync.
Create a new AMR SQL Synchronization configuration
- Go to your Tenant in the Breeze Admin Portal
- Open Templates → AMR Transfer Templates
- Click Create New AMR Transfer Template

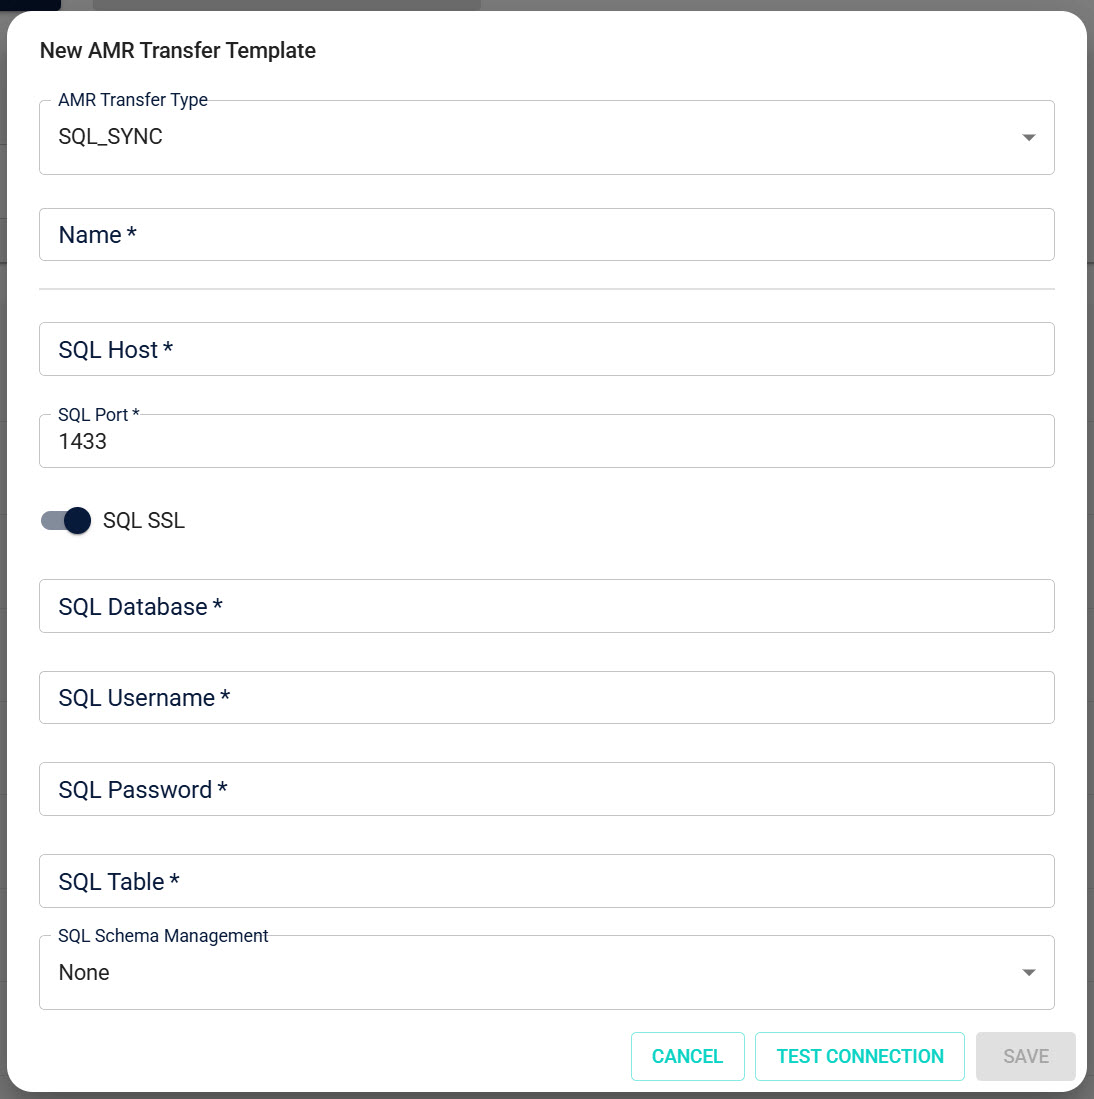
- Select the AMR Transfer Type: SQL_SYNC and fill in the initial SQL settings.
See: SQL connection settings and Target table.
- Click Test Connection. You must get a success message to proceed.
See: Test connection.
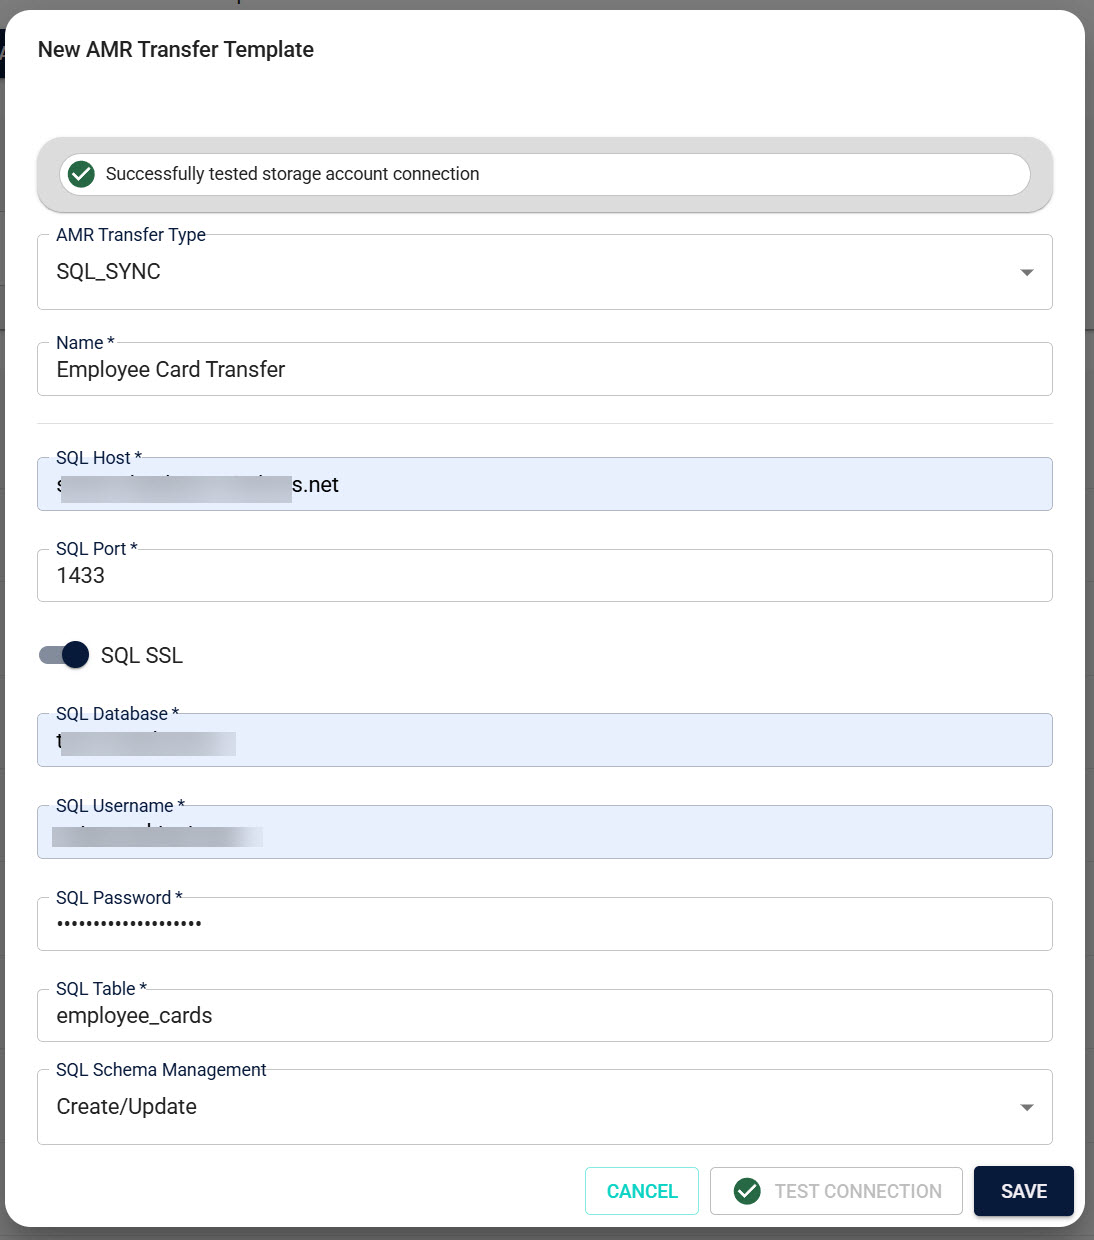
- Click Save. The configuration drawer opens for further settings.
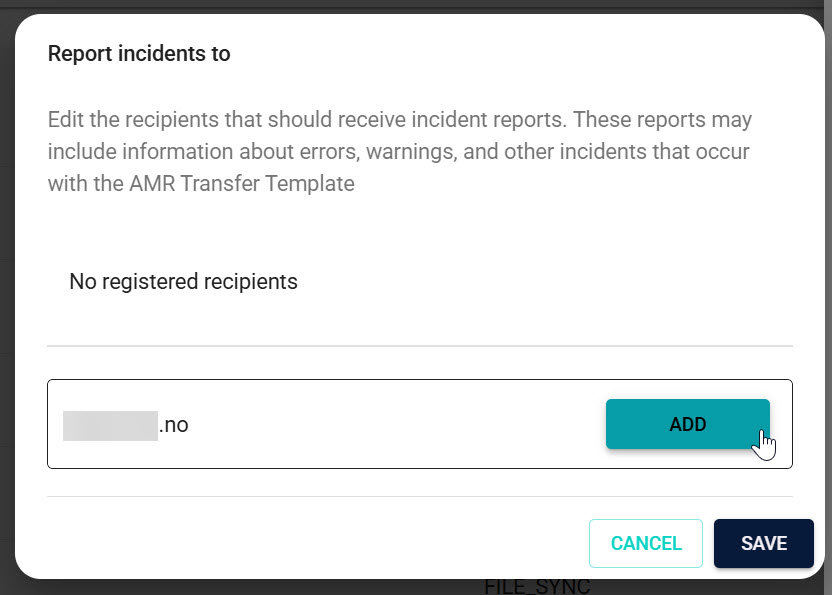
- Add incident recipients (recommended) so you’re notified if something goes wrong.
See: Incident notifications.
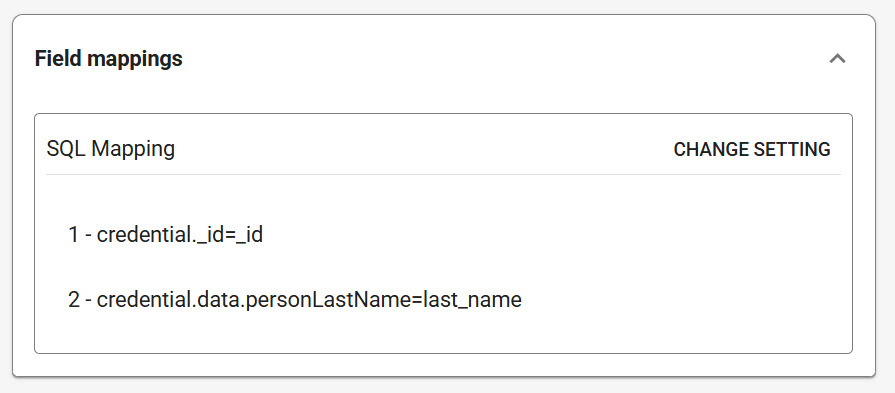
- Configure field mappings: choose Breeze fields and assign SQL columns. Optionally enable a timestamp column.
See: Available data fields and mapping and Mapping settings.
- Set other options and activation method, then save.
See: Key configuration settings and Activation method.

- You can change SQL settings later if needed.
See: SQL connection settings.
After these steps, your template is ready. Associate it with Credential Templates as needed.
Configuring AMR SQL Synchronization
You must have both System Administrator and Data Exporter to make these changes.
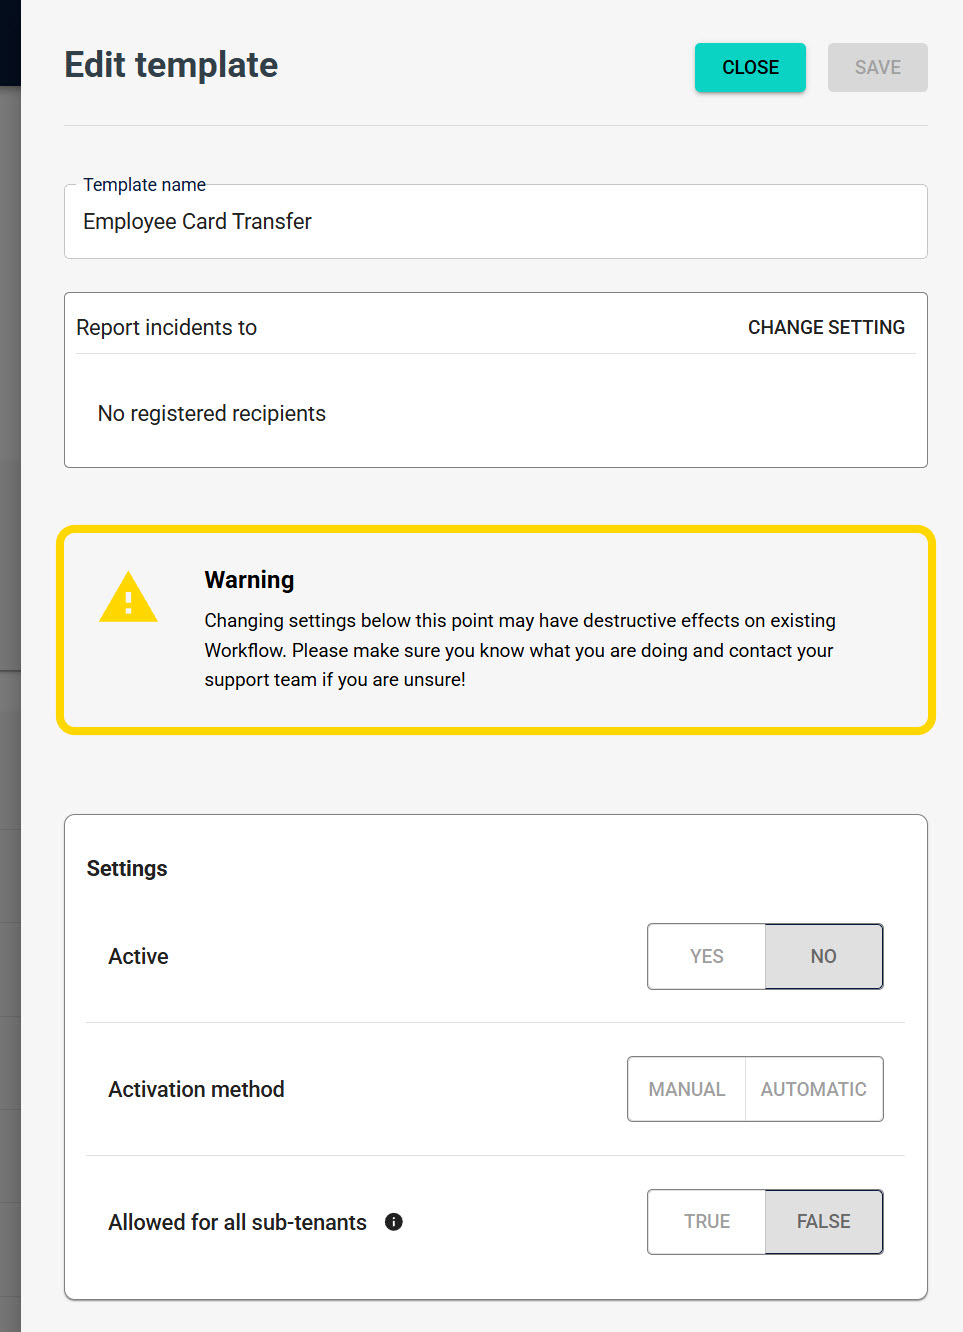
Key configuration settings
| Setting | Description |
|---|---|
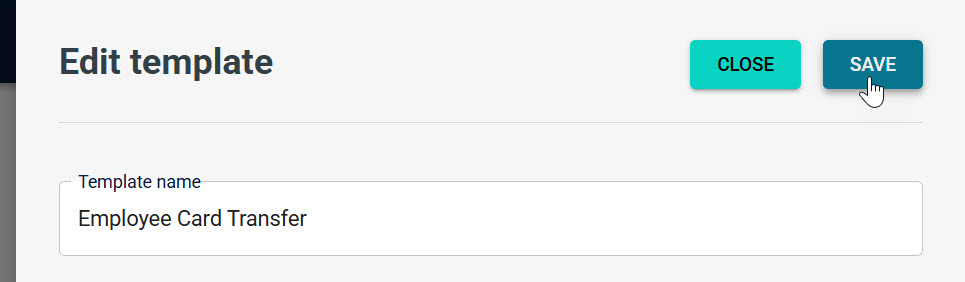
| Name | Human‑readable name for the configuration |
| Active | Only active templates can be used by Credential Templates |
| Activation method | Automatic or Manual |
| Allowed for sub-tenants | Make available to sub‑tenants on the same System Domain |
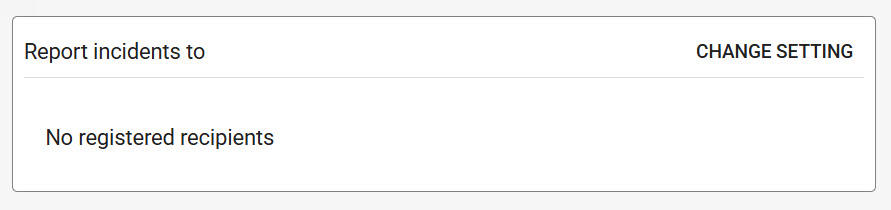
| Report Incidents To | Email address(es) to receive incident notifications |
Activation method
- Automatic sync: sync starts automatically as soon as a Credential is produced
- Manual sync: sync must be initiated from the Credential or Template UI
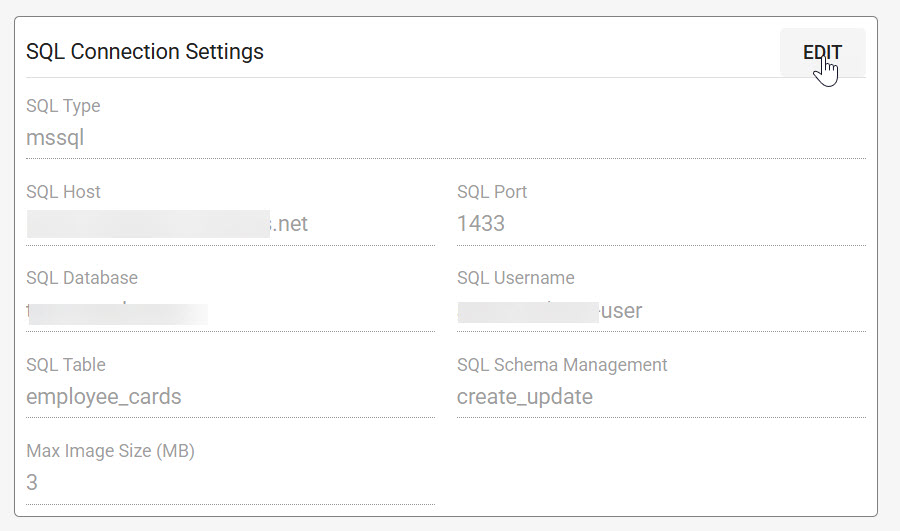
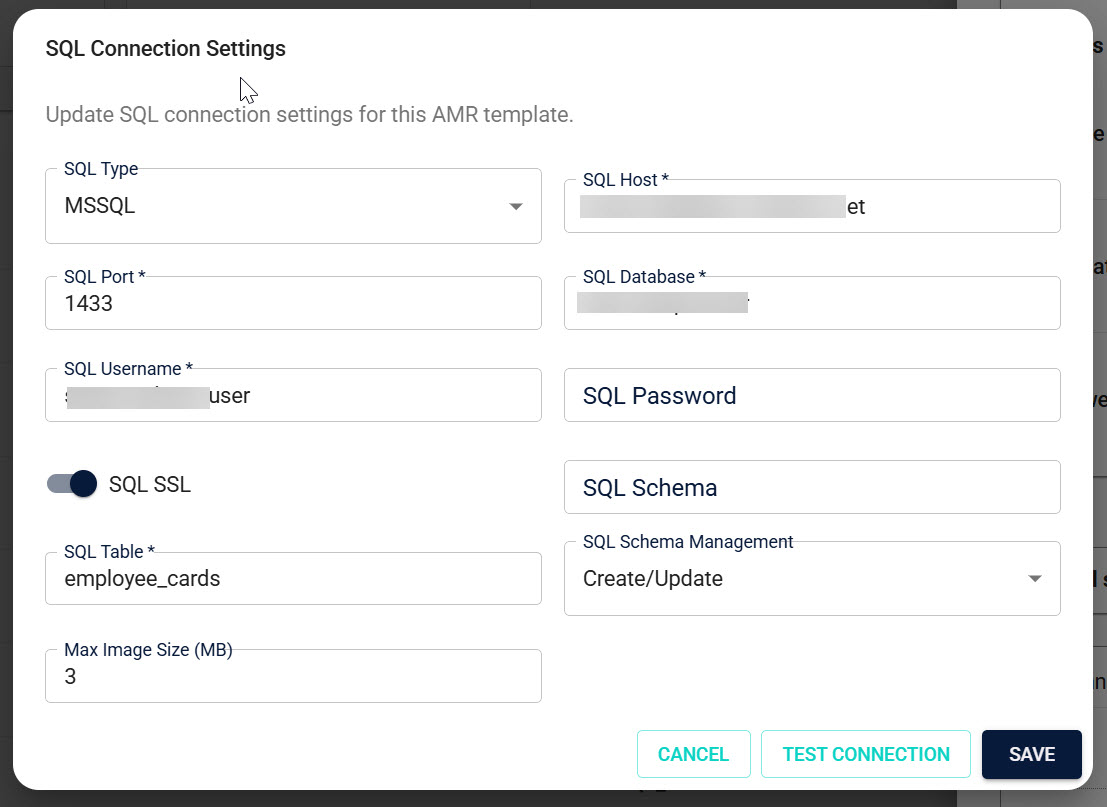
SQL connection settings
| Setting | Description | Example |
|---|---|---|
| SQL Type | RDBMS type | mssql |
| Host | DNS or IP of the SQL Server | sql.mycorp.local |
| Port | TCP port | 1433 |
| Database | Database name | access_integration |
| Username | SQL login user | breeze_writer |
| Password | SQL login password (write‑only in UI) | •••••• |
| SSL | Encrypt connection (true/false) | true |
Target table
| Setting | Description | Example |
|---|---|---|
| Schema (optional) | Schema name | dbo |
| Table | Target table name | amr_credentials |
Schema management (optional)
| Mode | Description |
|---|---|
| none | No DDL changes; table and columns must exist |
| create | Create target table if missing |
| create_update | Create table and add missing columns if needed |
Use schema management with care in production environments, as it can create or alter tables.
Mapping settings
- Open the Mapping editor
- Pick Breeze fields and assign SQL columns
- Reorder mappings as needed
- Save when validation passes
If you add, remove, or reorder mapped fields on an active configuration, ensure the target table still matches the mapping (especially in none mode). Mismatches will cause sync failures.
Test connection
Use Test Connection to verify the SQL connectivity (basic health check such as SELECT 1). Fix any errors before activating.
Security & Networking
For complete security and connectivity requirements (TLS 1.2+ with publicly trusted CA, SQL logins only, least‑privilege access, and recommended private connectivity), see:
- Connectivity and Security for AMR SQL
- Recommended for Option A: Setting up Azure App Service Hybrid Connection to Your SQL Server
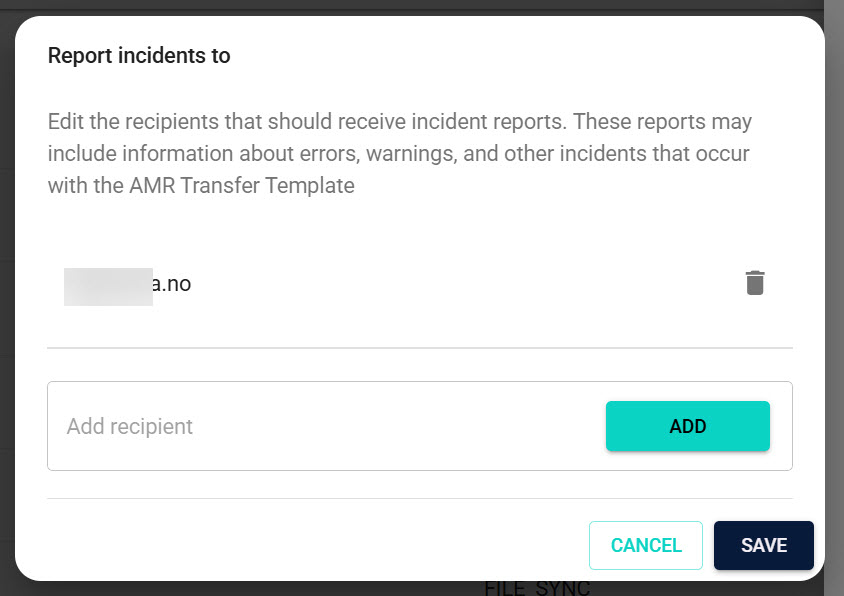
Incident notifications (Report incidents to)
Add one or more email recipients under "Report incidents to" to be informed about failures and other important events for this AMR template.
What you’ll receive:
- Emails when the system detects repeated errors during push/sync activities for this template.
- Messages are batched within a short window to avoid inbox spam.
- Each email groups identical errors together and shows a single sample technical detail with a tidy list of affected Credentials (with tenant‑aware links).
- If a Credential later succeeds before the email is sent, it is removed from the batch. If all items recover, no email is sent.
- Emails never include sensitive secrets such as passwords.
Good practices:
- Use a shared mailbox or distribution list for on‑call/ops teams.
- Keep recipients scoped to people responsible for integrations.
- Review incidents and resolve underlying mapping, connectivity, or permission issues.
Troubleshooting
- Connection test fails: Check host, port, database, username, password, and SSL settings. Verify the SQL user has permission to connect and write.
- No data appears in SQL: Confirm the mapping is correct and the target table exists or is allowed to be created/updated by your schema mode.
- Manual sync not running: Ensure the template is Active and the Credential is eligible; trigger a manual sync from the UI.
- SSL/TLS trust errors: Ensure TLS 1.2+ is enabled on the server, the server presents a certificate with a valid chain to a publicly trusted root CA, and the connection uses the correct host name matching the certificate CN/SAN. Private CAs and self‑signed certificates are not supported.
- Incidents and notifications: If errors occur repeatedly, notifications are sent to recipients configured under “Report Incidents To.” Related incidents are batched to reduce noise, and cleared automatically when items recover.
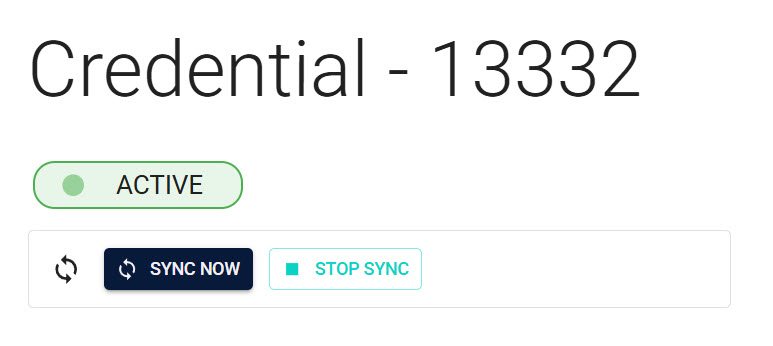
Manual sync from Credential page
When a Credential has an active SQL Sync workflow, administrators will see a sync bar on the Credential page. From here you can:
- Click Sync now to immediately attempt a synchronization
- Click Stop sync to stop the active synchronization workflow
Stopping the sync is permanent. The Credential will no longer sync on status changes or during the daily fallback check, and the synchronization cannot be restarted.
You normally do not need to use Sync now because AMR triggers automatically on status changes and also runs a daily fallback check. Use this action mainly to recover from an initial sync failure or after fixing mapping/permission issues.