Editing Templates
You'll spend most of your time editing templates—whether you're adjusting provider settings, changing sync schedules, or updating field configurations. The template editor organizes everything into clear sections, making it easy to find what you need.
Opening the editor
You can open the template editor in two ways:
- Click the "Edit" button next to any template in the list
- Double-click any template row
Either way, you'll see the same editor with all the configuration options.
Editor overview
The template editor is organized into distinct sections. Each section has its own Edit button or inline controls, so you can focus on one thing at a time. You don't need to configure everything at once—just work through the sections you need.
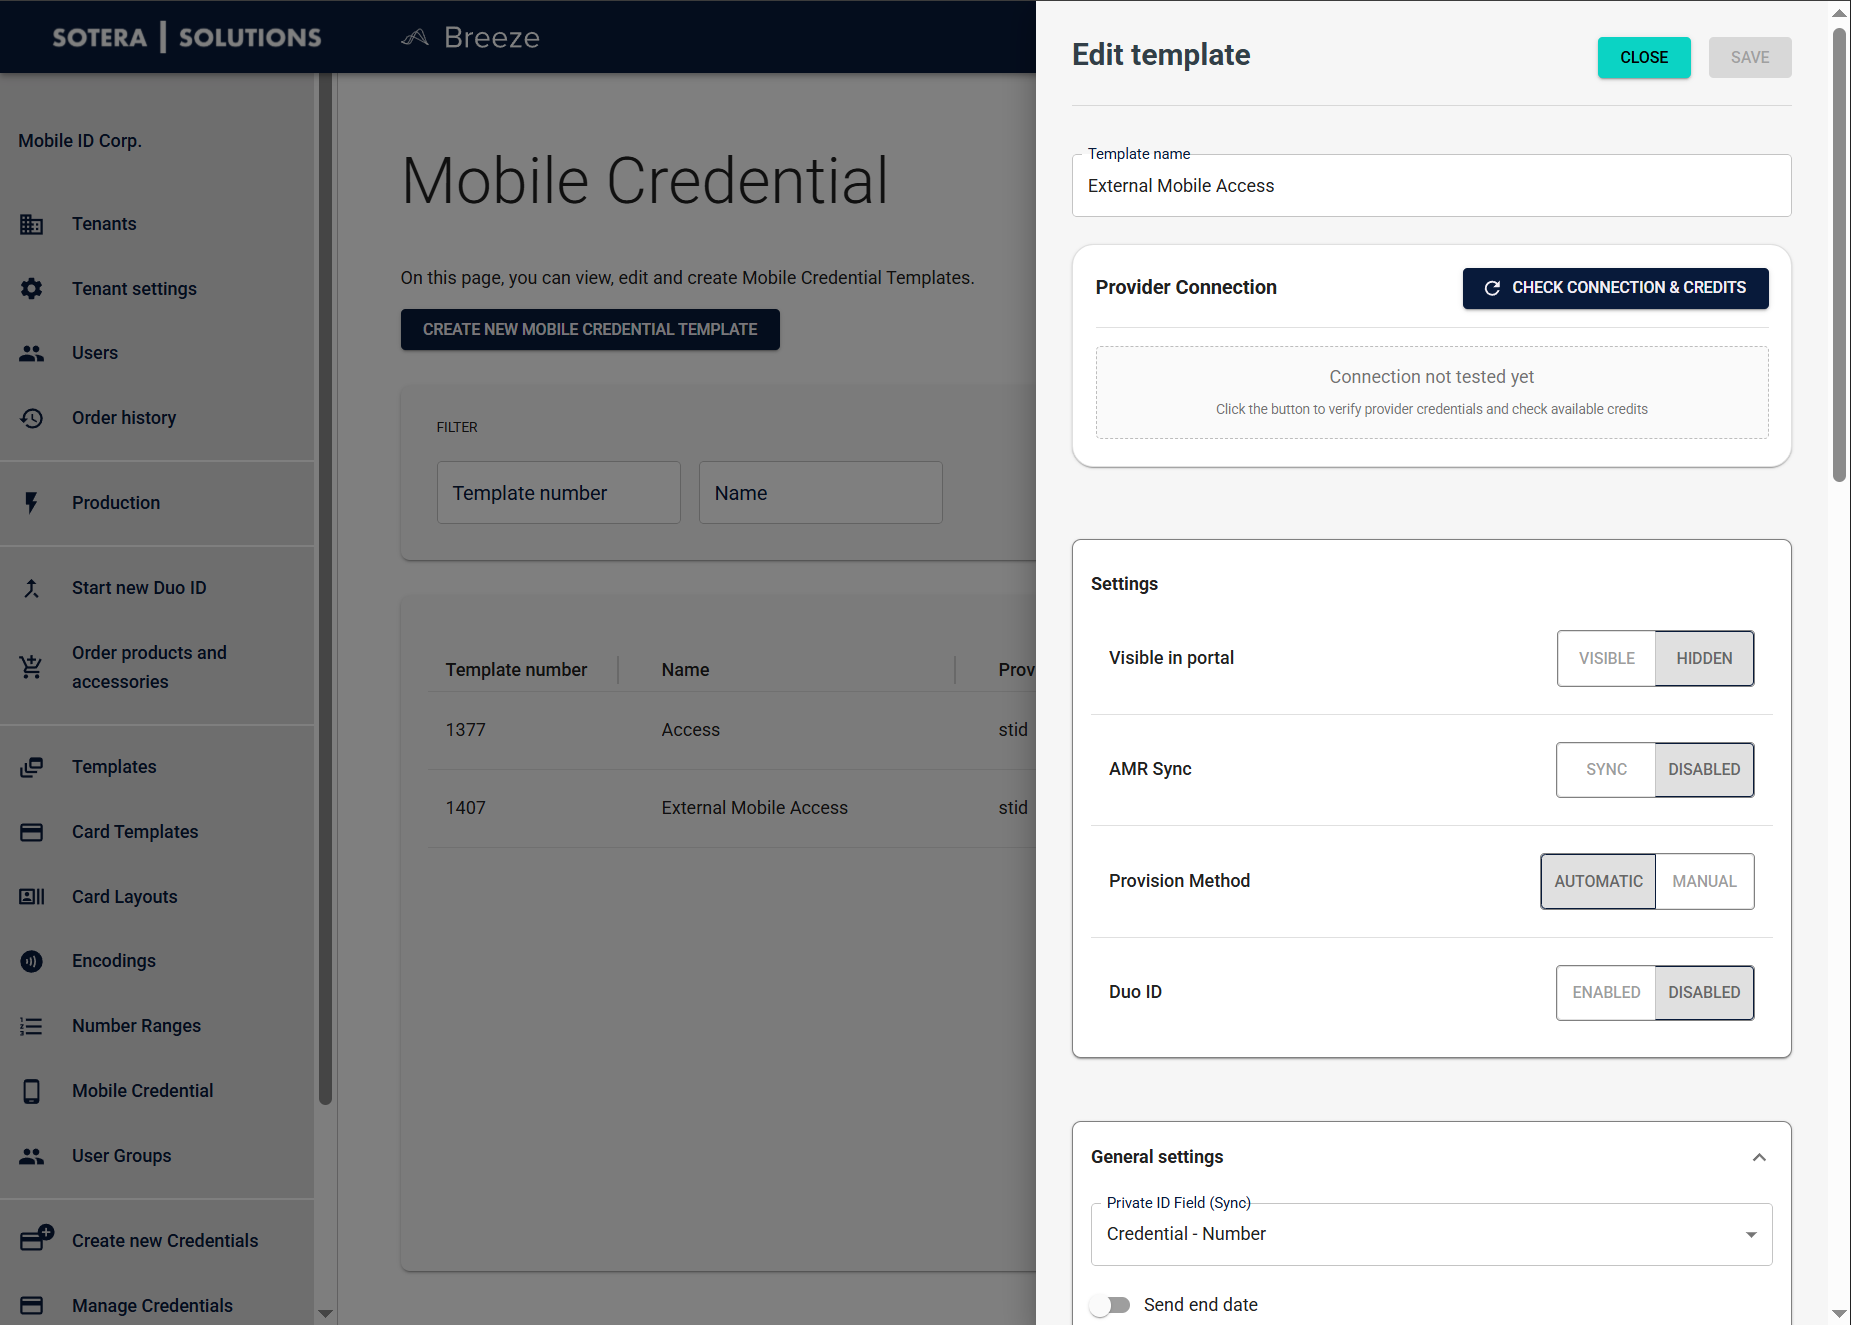
Template name and provider connection
At the top of the editor, you'll find:
Template Name — Edit this directly in the text field. Use descriptive names like "Employee Mobile ID" or "Visitor Access" so they're easy to identify later.
Provider Connection — The "Check Connection & Credits" button lets you test your provider connection. Use this after configuring Credentials to verify everything works and check your available credits. The status will show whether the connection has been tested yet.
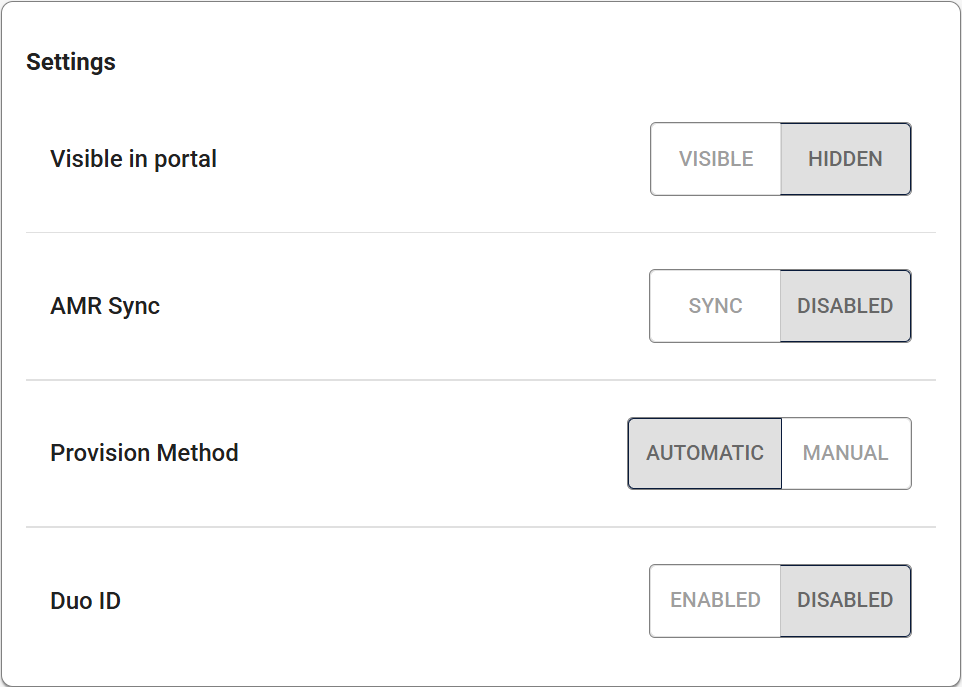
Settings
The Settings section contains quick toggles for common options. Each setting has two options you can switch between:
| Setting | Option | What it does |
|---|---|---|
| Visible in portal | Visible | Operators can see and use this template when ordering or creating new Credentials |
| Hidden | Template stays hidden from operators (useful for unfinished or testing templates) | |
| AMR Sync | Sync | AMR (Access Management Request) synchronization is enabled |
| Disabled | AMR sync is turned off | |
| Provision Method | Automatic | Credentials are provisioned immediately when issued |
| Manual | Requires manual provisioning steps | |
| Duo ID | Enabled | Template supports Duo ID functionality |
| Disabled | Standard mobile ID Credentials only |
Templates can't be made visible until provider configuration is complete. Incomplete configurations automatically stay hidden to prevent errors during Credential issuance.
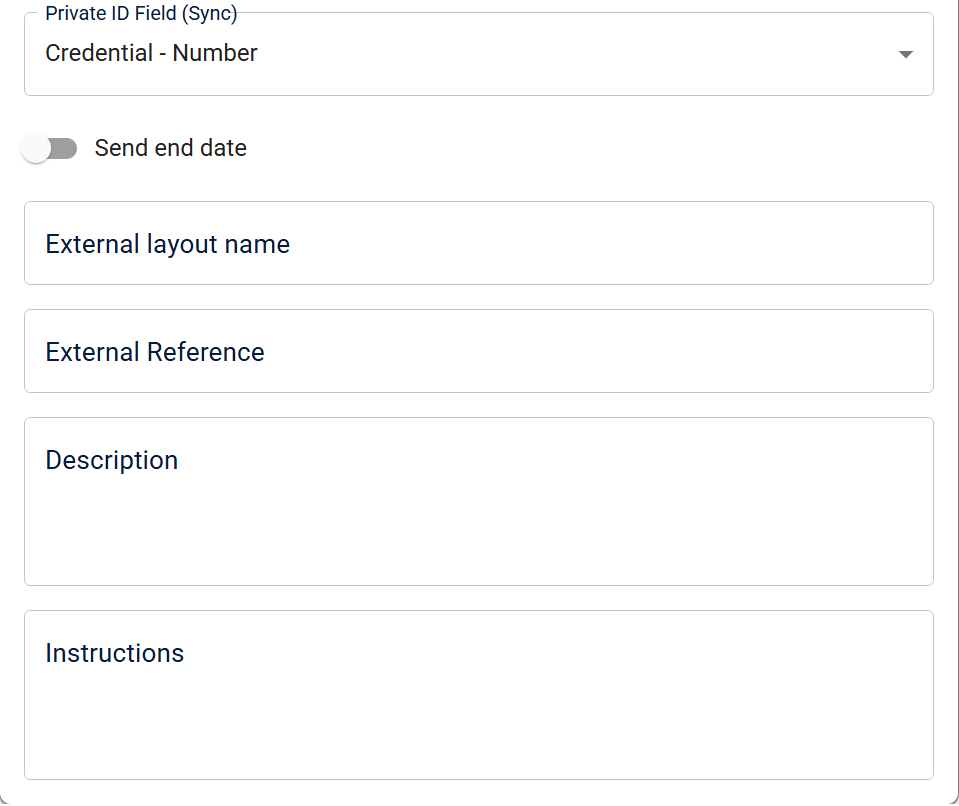
General settings
Click "General settings" to expand this section. Here you'll find:
| Field | Description |
|---|---|
| Private ID Field | Maps your internal Credential data to the provider's synchronization fields. Defaults to "Credential - Number", but you can select a different field if needed. |
| Send end date | Check this box if you want Credential expiration dates sent to the provider. |
| External layout name | Optional. Use this if you want to configure and design the layout in the STid portal instead of using Breeze layouts. Generally not recommended—only use in specific cases where external layout configuration is required. See Layout section for the recommended approach. |
| External Reference | Optional custom identifier for linking to external systems like CRM or HR platforms. |
| Description | Add detailed notes about the template's configuration. This helps administrators and operators understand how to use it. |
| Instructions | Step-by-step guidance for operators who will issue Credentials using this template. This appears as user-facing help text. |
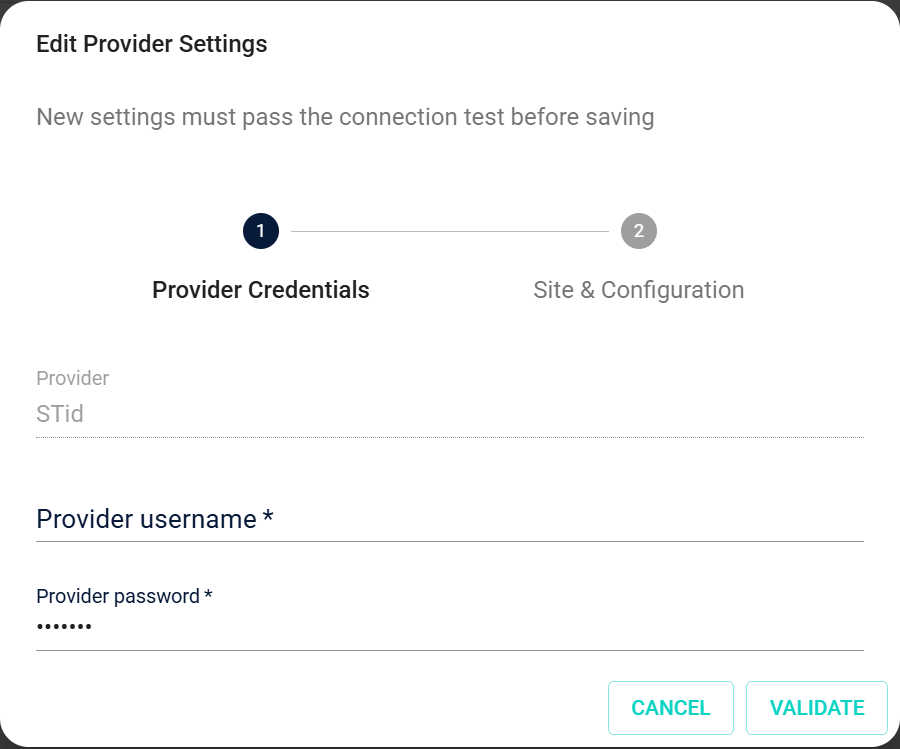
Account Credentials
Required roles: System Administrator, Manage Templates - Mobile Credential
To configure provider settings, you need one of the roles listed above.
Click "Edit" to configure your provider connection. This opens a dialog where you enter:
| Field | Description |
|---|---|
| Provider username | Your authentication Credential for provider API access. This is stored securely. |
| Provider password | Your provider account password. |
| Site ID | Identifies your organization's site within the provider system. You'll get this from your mobile ID provider. |
| Provider configuration ID | A specific configuration identifier for your provider setup. Also provided by your mobile ID provider. |
After entering Credentials, click "Validate" to test the connection before saving. The dialog shows a step-by-step progress indicator as you configure each part.
Always test provider connections after configuration changes using the "Validate" button in the Credentials dialog, or the "Check Connection & Credits" button at the top of the editor.
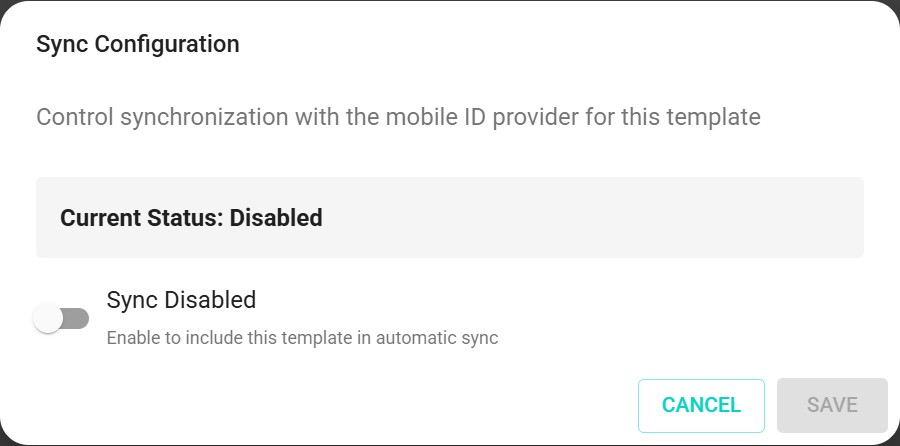
Sync Configuration
Click "Edit" to configure provider synchronization settings. This opens a dialog where you can:
Enable/Disable Sync — Turn automatic synchronization on or off. When enabled, Breeze automatically keeps mobile IDs synchronized between Breeze and your mobile ID provider.
The dialog shows your current sync status and lets you toggle synchronization for this template.
For more information about how provider synchronization works, see Provider Synchronization.
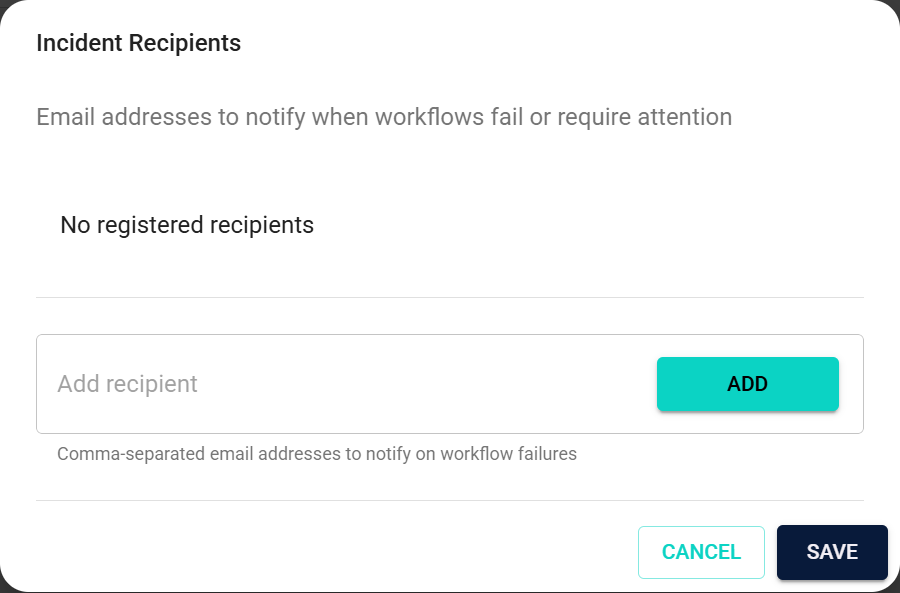
Incident Recipients
Click "Edit" to configure who receives alerts when something goes wrong.
Enter email addresses separated by semicolons, like security-ops@company.com;helpdesk@company.com. Having multiple recipients ensures someone gets notified even if one email address has issues.
What triggers incidents:
- Connection failures — Provider connectivity issues
- Sync errors — Synchronization process failures
- Provisioning issues — Problems creating Credentials
- Authentication errors — Provider Credential validation failures
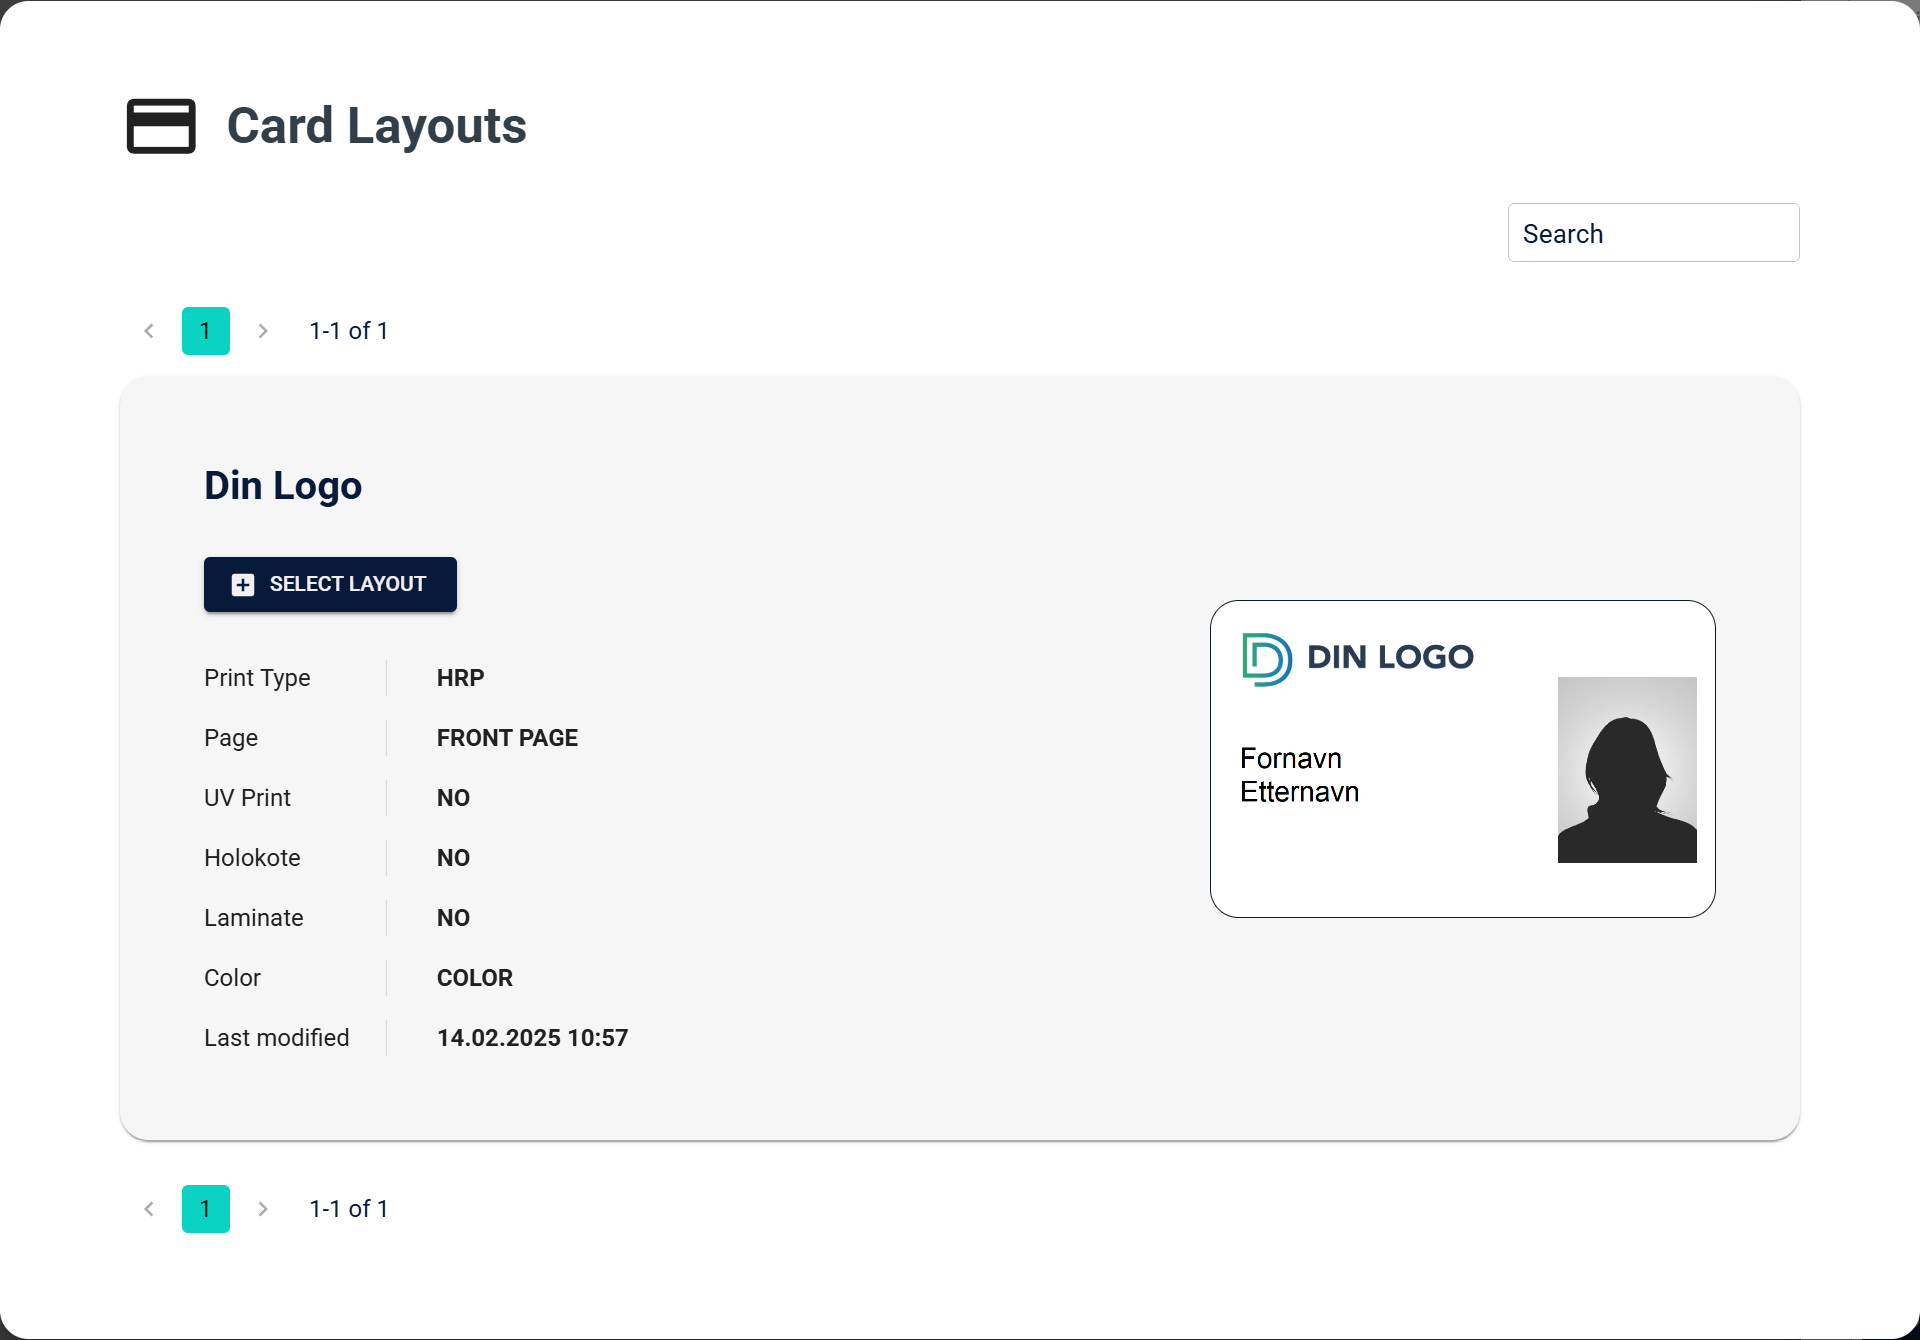
Layout
Click "Edit" to select a card layout for this template. The layout you choose serves multiple purposes:
- Credential Preview — Used as a template when creating the Credential Preview in Breeze
- Provider Transfer — The image is transferred to your mobile ID provider (STid)
- Mobile ID App — This will be the card design shown in the Mobile ID app
This is the default behavior and is the recommended approach for most use cases.
Alternative: External Layout Configuration
If you want to configure and design the layout in the STid portal instead of using Breeze layouts, you can enter the layout name in the External layout name field under General settings. This approach is generally not recommended and should only be used in certain specific cases where external layout configuration is required.
Template Field Settings
This section shows all the fields used when issuing Credentials from this template.

Default fields
Templates include some predefined fields:
| Field | Type | Requirement | Description |
|---|---|---|---|
| Person - Email | TXT | Required | Primary contact email for the Credential holder |
| Person - First Name | TXT | Required | First name of the Credential holder |
| Person - Last Name | TXT | Required | Last name of the Credential holder |
Each field shows its type (like TXT) and whether it's required. Each field has three edit buttons:
- Configure field properties
- Set validation rules
- Control display settings
Adding custom fields
Click "Add field" to add a new field. Configure:
| Setting | Description |
|---|---|
| Field Name | Give it a clear, descriptive name |
| Field Type | Choose the data type (TXT, NUM, DATE, etc.) |
| Requirement | Mark it as required or optional |
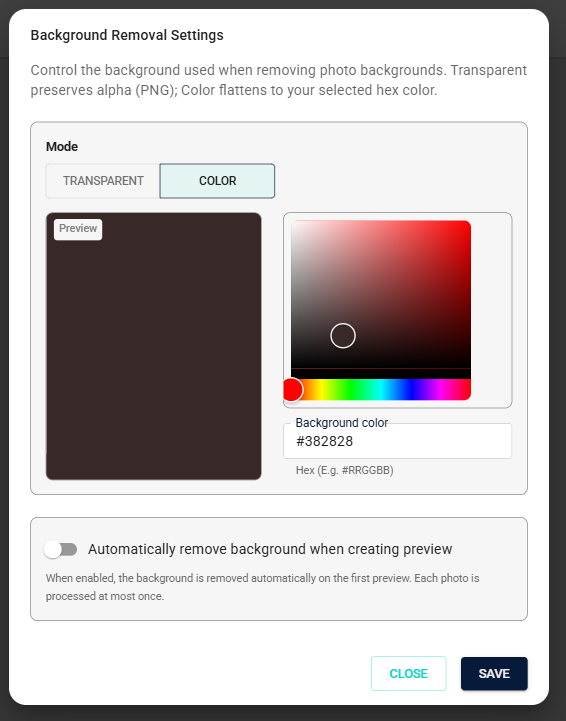
Background Removal Settings
Click "Change setting" to configure how photo backgrounds are handled for Credentials produced from this template.
Mode — Controls what happens to the background when it is removed:
| Option | Description |
|---|---|
| Solid Color | Replaces the background with a solid color (default: white, #FFFFFF) |
| Transparent | Keeps the alpha channel — requires a layout that supports PNG with transparency |
Auto-remove — When enabled, Breeze removes the photo background automatically the first time a Credential preview is created from this template. Each photo is processed once; re-creating the preview does not trigger a second removal.
| Option | Description |
|---|---|
| Enabled | Background is removed automatically on first Credential preview creation |
| Disabled | No automatic background removal (default) |
Auto-remove requires Background Removal to be enabled on your Domain. If the service is unavailable when a preview is created, Credential preview creation continues — the background is not removed.
Duplicate vCard Handling
Click "Change setting" to configure what happens when the same vCard already exists:
| Option | Description |
|---|---|
| ERROR | The workflow fails if a duplicate exists. Gives you strict control but may cause workflow failures. |
| REPLACE | The existing vCard is replaced with new data. This is the default behavior for new templates. |
| REUSE | The existing vCard is reused instead of creating a new one |
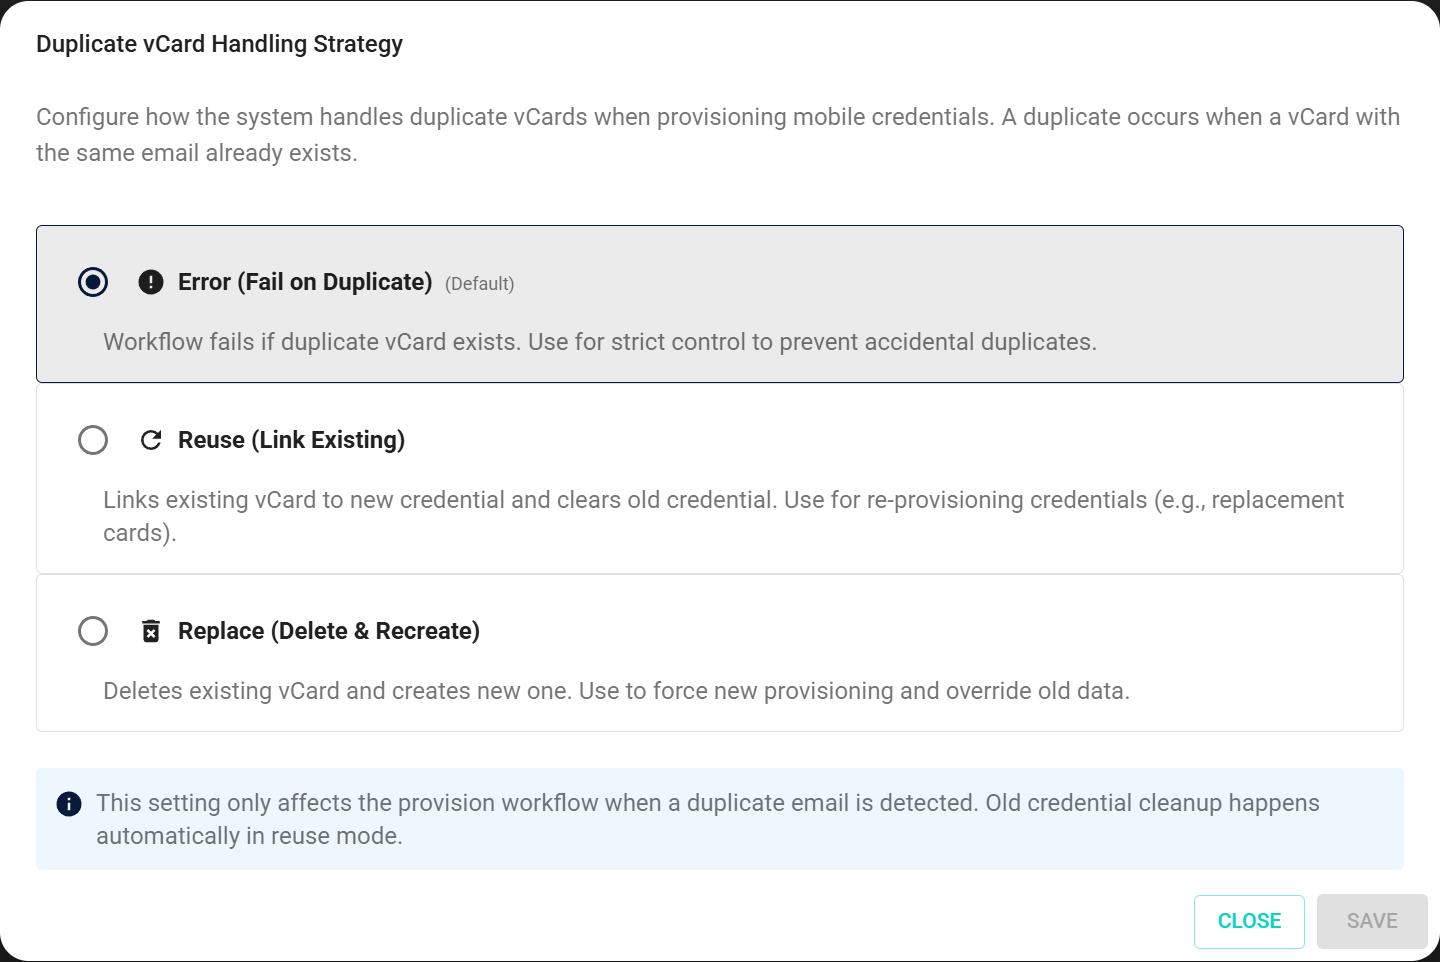
When you create a new Mobile Credential Template, REPLACE is the default conflict resolution strategy. This means if a vCard with the same email already exists, it will be replaced rather than causing an error. You can change this setting at any time by clicking "Change setting" and selecting a different option.
Choose carefully. ERROR mode gives you control but may cause failures. REPLACE and REUSE handle duplicates automatically but could have unintended consequences.
External Data Sources
Click "Edit" to configure external data source lookup for this template. External data sources allow operators to automatically retrieve person data from external systems (such as Norwegian Folkeregisteret) during Credential ordering.
How it works:
- Connect data source — Select an external data source that has been configured in Domain Administration
- Configure field mappings — Map fields from the external data source response to Credential template fields
- Enable lookup — Operators can then enter a search identifier (e.g., 11-digit Norwegian personal identity number) during Credential ordering
- Automatic population — System retrieves person data and populates Credential fields automatically
Before you can connect an external data source to a template, the external data source must be created and configured in Domain Administration → External data sources. See External Data Sources for configuration instructions.
Some external data sources (like Norwegian Folkeregisteret) require Level 4 authentication (BankID) for natural person lookups. Operators will be prompted to authenticate when performing lookups.
For more information about external data sources, see External Data Sources.
Duo ID Approval Routing
When Duo ID is enabled on your template, you can configure a delegated Tenant for Duo ID approvals. This allows you to route all Duo ID approval requests created from this template to a specific Tenant, helping you centralize approvals in fewer Tenants.
How it works:
- Enable Duo ID — Set Duo ID to "Enabled" in the Settings section (the Duo ID Approval Routing section is only visible when Duo ID is enabled)
- Select delegated Tenant — Choose a Tenant from the "Duo ID Approval Delegated Tenant" dropdown
- Save the template — The setting persists and applies to all new Duo ID requests created from this template
What happens:
- When a Credential is created from this template and a Duo ID request is submitted, the request routes to the delegated Tenant instead of the Credential's owning Tenant
- Approvers with Admin + Approver access on the delegated Tenant can view and approve these requests
- The delegated Tenant's Duo ID approval queue and pending counters reflect these requests
The Duo ID Approval Routing section is only visible when Duo ID is enabled on the template. If Duo ID is disabled, this section is hidden.
To remove the delegated Tenant and revert to default routing behavior, clear the Tenant selection and save the template. Duo ID approvals will then route to the template's default Tenant (existing behavior).
Routing is applied when the Duo ID request is submitted. Changing the template's delegated Tenant later does not move already-submitted requests.
Automatic Duo ID reminders
When Duo ID is enabled on a Mobile Credential Template, you can configure automatic reminder emails to reduce expired requests. Collaborators receive two reminders per pending request: one at the halfway point to expiry and one near the expiry date.
See Duo ID Automatic Reminders for setup steps, cleanup period options, and what happens when a request expires.
Number Ranges and Formulas
Click "Edit" to assign number ranges and formulas:
Number Series Assignment — Assign number ranges for Credential identifier generation. You can link to existing number series or create new ones. Templates can use up to 3 number series per Credential.
Formula Assignment — Apply calculation formulas for dynamic field values. Useful for automatic date calculations, conditional values, and formatting rules.
Saving your changes
- Make your configuration changes in any section
- Click "Save" at the top right to save your changes
- Click "Close" to return to the template list without saving
Remember, you can always come back and edit things later—you don't need to get everything perfect in one session.
Before making a template visible
Before operators can use your template, make sure:
- Provider Credentials are valid and tested (use "Check Connection & Credits")
- Required fields are properly configured
- Sync settings match your needs
- Incident recipients are set up correctly
What's next?
You've configured your template! After saving, operators can start using it to issue mobile ID Credentials.